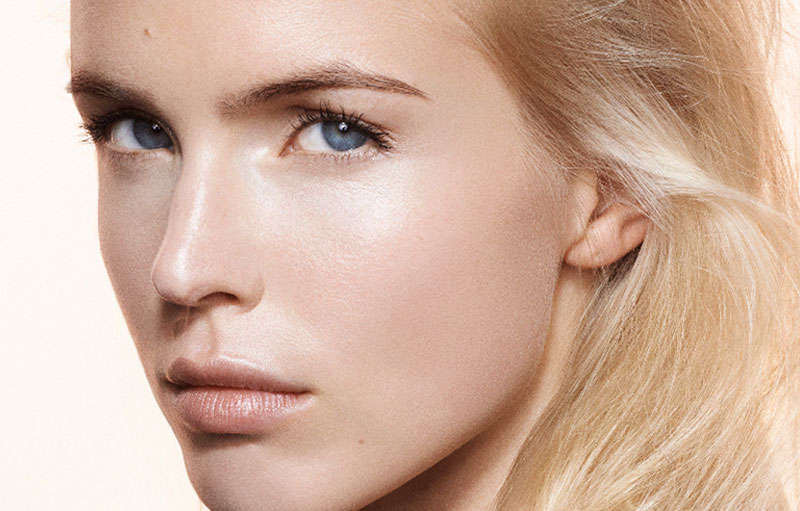
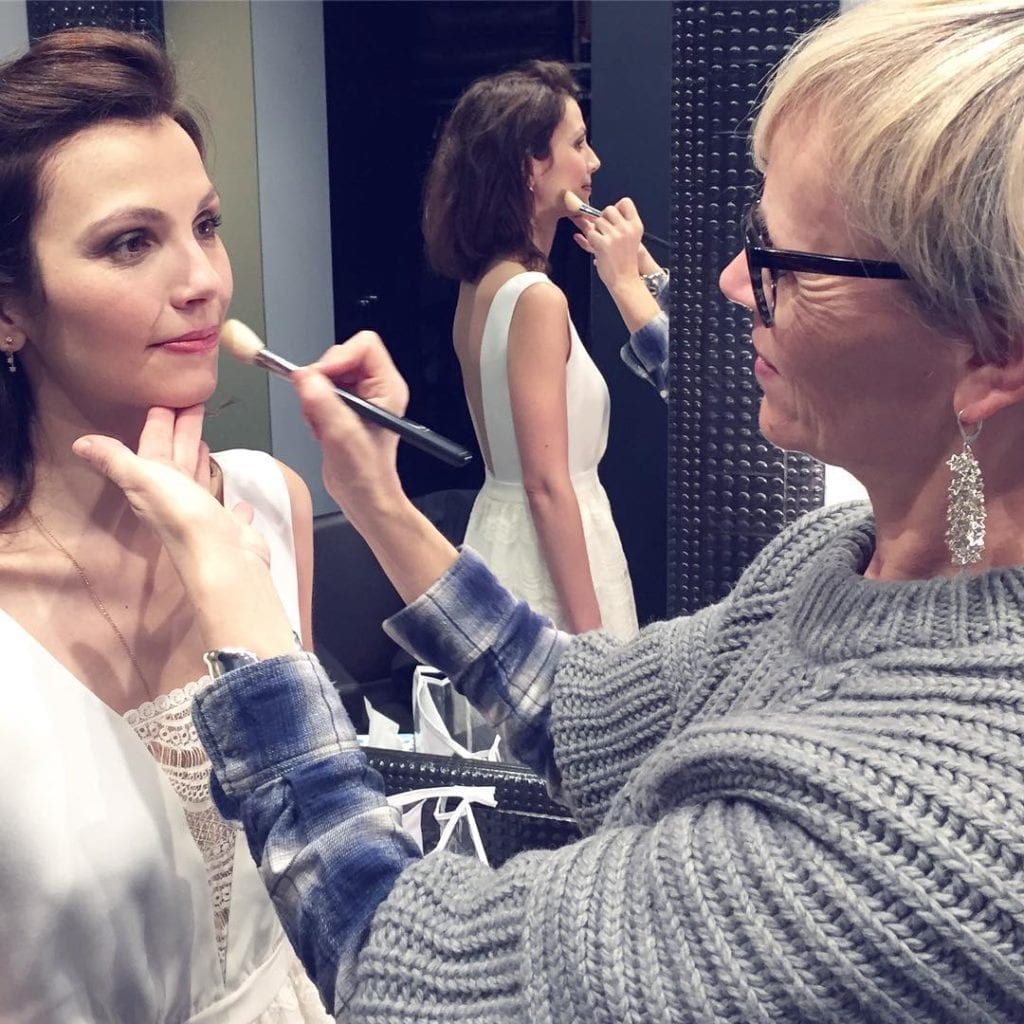
My clients who book me for photoshoots call me “The Skin Queen” and I love it! It’s true, I’m really obsessed with making skin look beautiful to the max. Smooth, flawless, glowy and natural. Always looking like Skin, not like makeup.
A beautiful makeup starts with gorgeous skin, not only on pictures but also in real life!
It’s not that difficult to get this perfect, but barely-there makeup look. Key to it are of course the right products but also the right techniques to apply them. Here some tips on how to best apply different foundation types.
How to apply very fluid foundations
Fluid, lightweight foundations are among my favorites. I like their light coverage, paired with a soft glow they provide. One I use a lot is MAC’s Face&Body Foundation, a staple among professional makeup artists for its super-natural skin-like finish. (It’s called Fase&Body Foundation, because we use it backstage to smoothen arms, legs, cleavages, any bits of skin that show.)
This very fluid texture feels super-easy to apply. I like my hands best for application as they warm the fluid and you get an even smoother, more transparent finish.
I spread a big drop of the product on the back of my left hand and go from there onto the face. Starting in the center where most people need a bit more coverage, I smoothen out the product to the sides.
Why you shouldn’t use your index finger to apply your foundation
An expert tip: Makeup artist tend to use their middle- and ring-finger to apply fluid and creamy products because there are less strong than the index-finger and will have a lighter touch.
If you prefer to use a brush, you should pick a bi-fiber stippling brush for their feather light touch. I like the ones from Léonard, Zoeva, and MAC. The movement for application will always be in the same direction, from the center of the face to the sides. Make small circular motions to make pores and small lines disappear.
Whatever your preferred method, there’s actually only one mistake that you can make: use too much pressure, which will rub the coverage off. The light texture of the fluid requires a light touch when applying it.
BB and CC-creams, instead of foundation
BB-, CC-creams and tinted moisturizers are somewhere between makeup and skincare. They come in very different degrees of coverage. One of my favorite tinted moisturizers is the one by Laura Mercier.
Some offer basically no coverage whatsoever, just a sheer rosy or peachy tint. Those can be applied like a light lotion, splashing it on and gently spreading over your face.
Some BB-creams are more covering, like a lightweight foundation and should therefore be applied more carefully. You can use a bi-fiber brush and the technique described above.
Important: Despite their name, BB or CC-creams cannot substitute your daily moisturizer. (To know more about my preferred skincare routine please have a look at this post.)
How to apply creamy, medium coverage foundation
Thicker, creamy textures like the Make Up For Ever HD Foundation can be used to achieve more or less coverage. It’s actually very much the brush you use which will determine the result. Here’s how and why. 😉
are best applied with a brush. It’s very much up to the choice of brush which result, from light to heavier coverage, you will obtain.
Oftentimes the reason you use a heavier foundation is that you want to cover redness and blemishes. In this case, in order to get the most natural look, you might want to vary coverage: use higher coverage on red areas and lighter coverage everywhere else. Makeup artists use different types of brushes to get there: You will achieve better camouflage with a round, dense buffing brush like the MAC 170 or a flat tapered foundation brush like the one from Chanel.
For a more lightweight, rather transparent finish pick a bi-fiber stippling brush like the ones used for fluid foundation textures.
Whichever brush you use, use the back of your hand as palette again. Spread a big drop of your product and apply from there in small strokes, starting in the center of your face and working outwards. Blend with short tapping movements. Using the stippling brush, turn it in small circles to smoothen skin texture and make pores invisible.
How to apply high-coverage stick and pan foundation
These types of products are mostly used in small areas, to hide redness and blemishes. However, sometimes when I’m backstage in a great hurry I might do the rest of the face with the same product, just using it in a very sheer layer.
Among my favorite high coverage foundations are the Stick Foundation by Bobbi Brown and, especially for deeper skon tones, Graftobian’s HD Glamour Crème.
The risk with these textures is to end up with too much product. Especially with stick foundation like the Bobbi Brown one, the temptation is there to apply it, like a lipstick, straight from the tube. But I’d rather go for a lighter approach and pick up the product with a buffing brush, applying it in small, delicate strokes, always from the center of the face towards the sides.
The dense texture requires a bit more pressure, but no too much or you’ll end up with “holes”. Then blend with sweeping and circular movements.
Creamy stick and pan foundation, a good bet for deep skin tones
These textures tend also to be my go-to products for black or mixed-race skin tones. Not because those skin tones would need higher coverage! The reason is simply that these products come in such a great range of shades, making it much easier to find and match the perfect color. Color matching deep skin tones can sometimes be quite a bit of a challenge. You among my readers who have deep skin tones know what I’m talking about.
Make sure you use the perfect foundation color for your skintone!
Whichever foundation texture you choose, make sure you pick the right color that matches your skin tone perfectly. This allows you to go much lighter in your coverage and you’ll get a more natural look. Find out how to best do this in this post here.
Or come to see me for a bespoke makeup class. I’m looking forward to meeting you! 💋
By Louise Wittlich
(Makeup on the model in the picture by Louise Wittlich)
*All models’s on all pictures of this blog are made up by me, unless otherwise stated.


 No products in the cart.

